
Game Systems
Growth
Last updated: May 28, 2026
Growth is the timer that gates everything else in The Isle: Evrima. Mutations, breeding, the species you can actually fight — all of it is locked behind the % bar above your portrait. How fast that bar fills depends almost entirely on what you eat: one nutrient is baseline, three is triple speed. Picking a species commits you to a base growth time; picking your diet decides how fast you cover it.
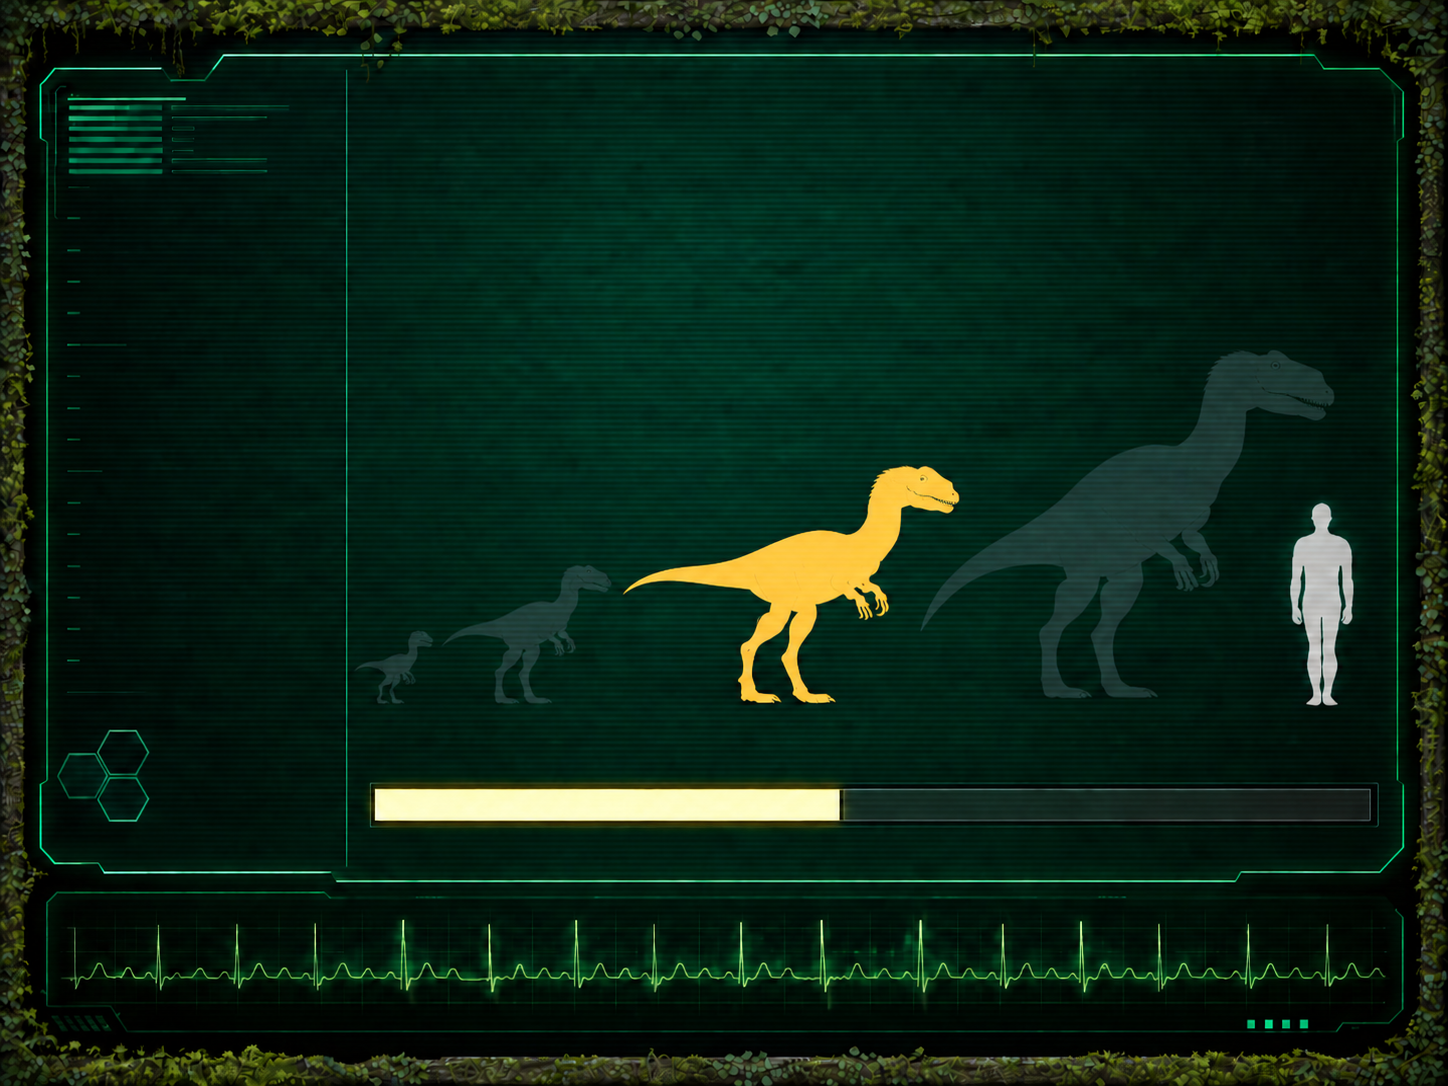
The four growth stages

Every species cycles through the same four stages, just at different speeds. The stage you're in dictates which abilities are unlocked, how much HP you have, and which animals view you as food vs as a threat.
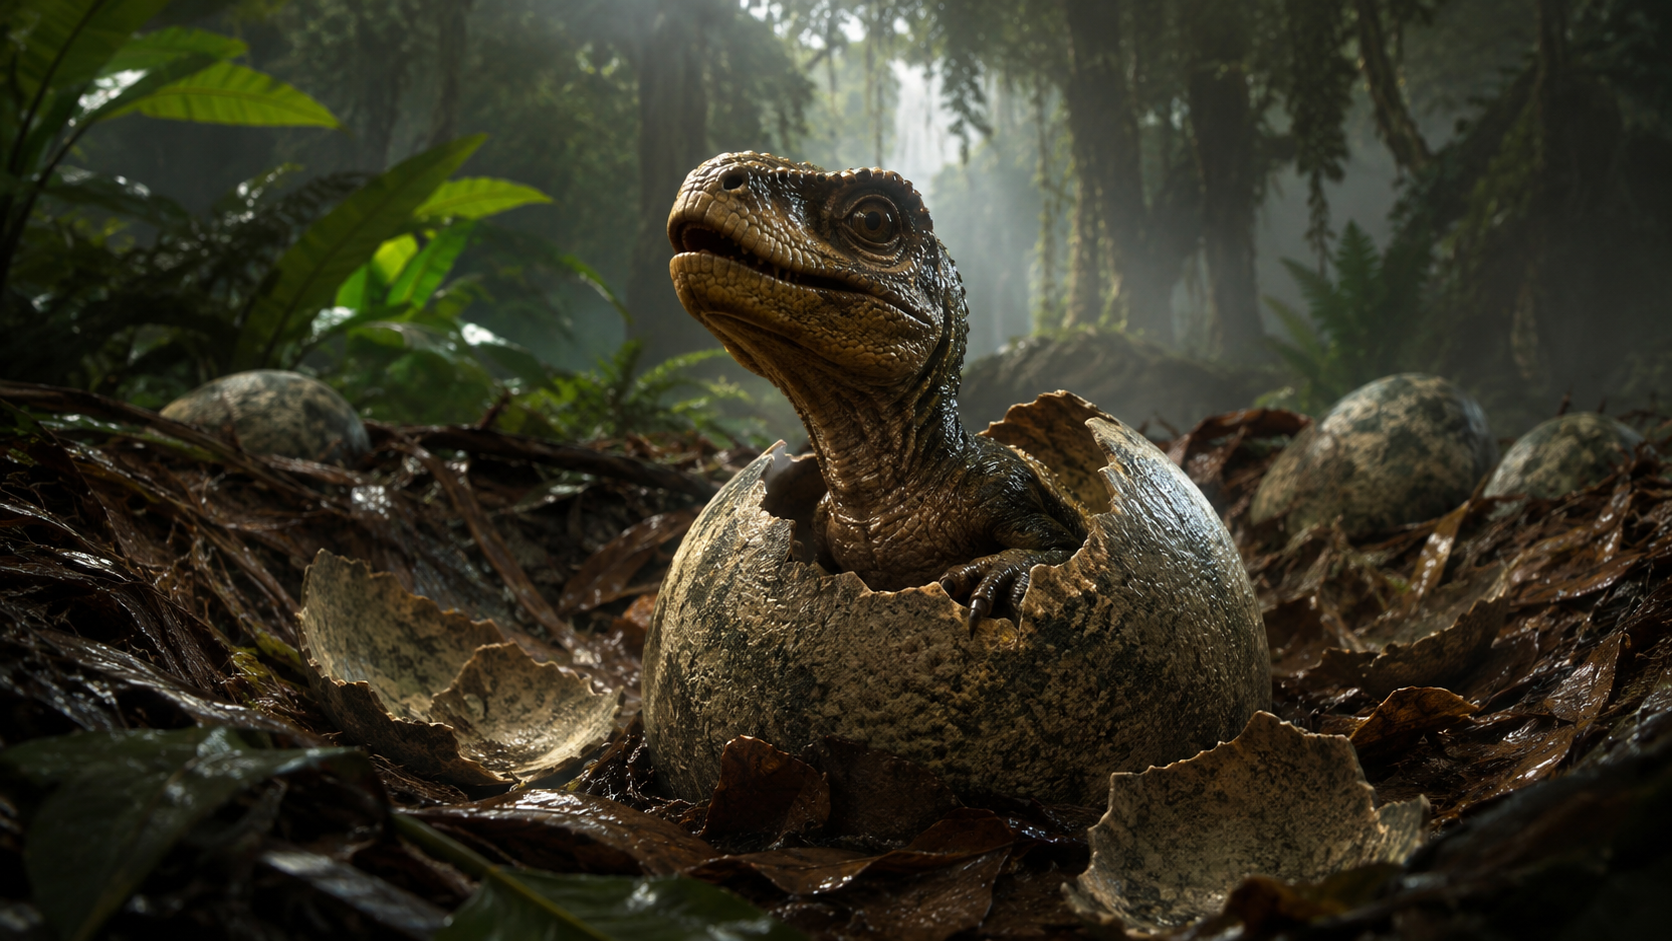
Hatchling
Growth band~10–25%Nest-invite only. You only spawn as a hatchling if a parent player shares a nest passcode and you join from their nest on the character-select screen. Tiny hitbox, almost no HP, killed by basically everything — but you grow fast and inherit your parent's diet macros, so it's the fastest start to adult if you can swing it.
Juvenile
Growth band~25–55%The default new-character spawn. Small but mobile — stamina drains slower than a hatchling, attacks register, you can outrun a lot of bigger species. Most of your map-learning happens here.
Subadult
Growth band~55–95%The midweight phase. You can fight back, defend territory, contribute to a group. Sanctuary bees start to chase you. This is the longest functional play stage.
Adult
Growth band100%Full size, full stats. Growth stops; everything you do now is about staying alive and reproducing.
What changes how fast you grow
Four levers move your growth rate. One you control directly; three are situational.
- Diet (the big one). How many of the three macros (β / γ / α) you have filled — see the Diet & Nutrients guide. 1 = 100% rate, 2 = 200%, all 3 = 300%. Triples your effective speed.
- Migration zones. Yield bonus inside an active migration boosts the % you gain per bite. Same food outside the zone fills you slower. Show up.
- Sanctuary mushrooms. The three-combo mushroom fills all three macros at once. A single bite can flip you from 100% growth rate to 300% if you were missing two bars.
- Hunger / thirst floors. If your stomach or hydration hits zero, growth pauses entirely. You can sit at 89% forever if you let yourself starve — the bar literally stops moving.
Approximate growth chart by species
Vanilla base growth times — what the game uses at GrowthMultiplier=1× with one macro filled. Most community servers run 2–5× to make these times feel reasonable. Diet stacking divides further: 2 macros halves it, 3 macros thirds it. Patches retune values — treat them as the ballpark.
Small / Fast
~2 – 5 hoursTiny herbivores and small carnivores. Speed is the only thing keeping them alive — but they hit adult fast.
Medium / Mobile
~5 – 10 hoursThe mid-tier — you can fight or flee depending on matchup. Sanctuary juvies often transition out here.
Large
~11 – 18 hoursHeavy hitters — you can hold ground but you can't outrun the heavies. Big time investment, big payoff at adult.
Heavy
~23 hoursSemi-aquatic apex. Long grow that rewards careful, water-bound play.
Apex
~35 hoursRex stands alone — longest vanilla grow by a wide margin. Most players only reach this on community servers running 2–5× growth.
Real-world example: a vanilla 1× Stegosaurus (~17h 55m base) on a 3× community server stacking the 3-combo mushroom = 17.92 / 3 / 3 ≈ 2 hours. Use the calculator below for any combo.
Growth calculator
interactiveEstimate the real-world time to reach a target growth % from your species, your server's GrowthMultiplier (Game.ini), and your current diet stacking. Vanilla numbers; community servers usually boost ×2–×5.
base 1.83h · server 1.00× · diet 3×
Formula: time = base × pct-remaining ÷ 100 ÷ server-mult ÷ diet-mult. Diet 1×/2×/3× = number of macros (β / γ / α) you have filled (see the Diet & Nutrients guide). Several species are flagged approx— their published timing isn't in the canonical table yet, so we size-classed them. Patches retune base times; treat numbers as the ballpark.
Growing fast — quick tips
- • Get to a Sanctuary as a baby. The three-combo mushrooms flip you to 300% growth instantly. Stay until bees start attacking — that's the eviction signal at subadult.
- • Active migration > eating wherever. Nutrient yield is boosted in the active zone. Same food, more % per bite.
- • Never let hunger or thirst hit zero. Growth pauses. The bar stops moving entirely. Drink and eat before the warnings stack up.
- • Stack 3 macros before you settle. Triple growth rate while you're foraging vs single while you're fighting is the difference between hitting adult tonight and tomorrow.
- • Don't over-fight as a juvi. HP regen + downtime competes with your growth window. If you don't need to engage, don't.
Related
- • Diet & Nutrients — the 1× / 2× / 3× growth multiplier system.
- • Migration, Patrol & Sanctuary zones — where to actually find the boosted yields.
- • Courting & Nesting — nest-born juvies inherit their parent's 3-combo for a fast start.
- • Mutations — Efficient Digestion and Enhanced Digestion both stretch how long your diet macros last, which keeps your growth multiplier active longer.
Growth bands and per-species base times shift between patches. Treat the numbers above as ballpark; specific times move when Afterthought re-tunes species pacing.